The right order to apply makeup for a smooth base
By Ulta Beauty Advisors · Published October 2026
All products featured are available at Ulta Beauty. Ulta Beauty Advisors select products independently. Prices and availability are subject to change.
Smooth base? Total game-changer. You can own the priciest foundation in your bag, but if the layers go on in the wrong order, things get patchy, cakey or slide off by lunch. The good news: nailing a soft, even canvas isn't about more product. It's about the right product in the right order.
Here's what you'll learn. We're walking through every step, primer, color corrector, foundation, concealer and setting, plus which formulas play nicely together and the little pro moves that make your look last from your morning coffee to your after-hours plans. Whether you're a base beginner or already handy with a beauty sponge, this is your map to skin that looks like skin (only more even).
Let's build it, layer by layer.
Why the order of application matters
Think of your base like getting dressed. You wouldn't throw a jacket on before your shirt, right? Makeup works the same way. Each layer has a job, and each one sets up the next.
Here's the thing about texture. Water-based and silicone-based formulas don't always mix. Layer a water-based foundation over a heavy silicone primer and you can get pilling, those little rolls of product that ruin a smooth finish. Match your textures (water with water, silicone with silicone) and everything melts together instead.
Order also controls how much product you actually use. Prep your skin well and you'll reach for less foundation. Place concealer at the right moment and you won't cake it on. Less product, more staying power. That's the whole vibe.
One more win: skin health. When your base sits smoothly instead of clinging to dry patches or sinking into pores, your skin looks fresher and your makeup feels lighter. Everybody's happy.
The step-by-step makeup base order
Five steps. That's it. Follow the sequence below and you're golden.
Step 1: Primer
Primer is your smoothing layer, it blurs texture, grips your makeup and helps everything last. Apply it after your skin care has fully absorbed (give your moisturizer and SPF a few minutes to settle first).
Formula tip: Got oily or combination skin? A mattifying, silicone-based primer helps control shine through the T-zone. Dry or mature skin? Reach for a hydrating primer to keep things dewy and prevent that cakey look. Big pores or texture around the nose? A blurring primer is your bestie.
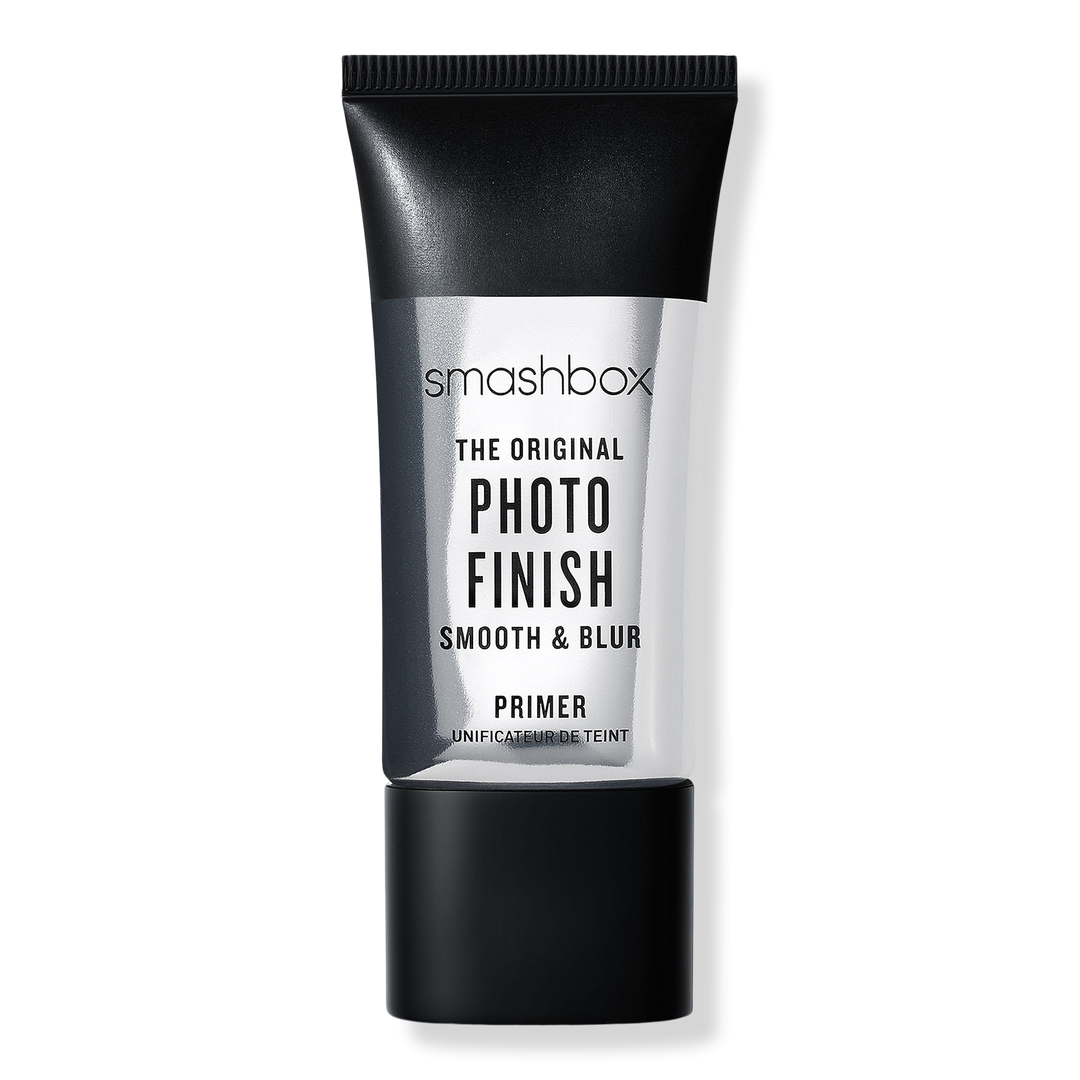
Our pick: Smashbox Photo Finish Smooth & Blur Oil-Free Primer
Primer | $16.00 to $55.00
Shop Smashbox Photo Finish Smooth & Blur Oil-Free Primer at Ulta Beauty →
Say hello to your grip. This oil-free classic blurs the look of pores and fine lines while giving foundation something to hold onto all day. It wears weightless and sits invisibly under whatever comes next.
Key specs: Oil-free · Blurs the look of pores and texture · Grips makeup for longer wear · Good for most skin types including oily and combination
Ulta Beauty Advisor tip: A pea-size amount is plenty! Warm it between your fingers and press, don't rub, into areas where your makeup tends to fade first.
Step 2: Color corrector
This is your optional but mighty step. Color correctors cancel out tones you'd rather not see—think green to neutralize redness, peach or orange to counter dark circles and blue-based tones on hyperpigmentation. A little goes a very long way.
Formula tip: Use color corrector only where you need it, not all over. Sheer, blendable formulas layer better under foundation without adding bulk.
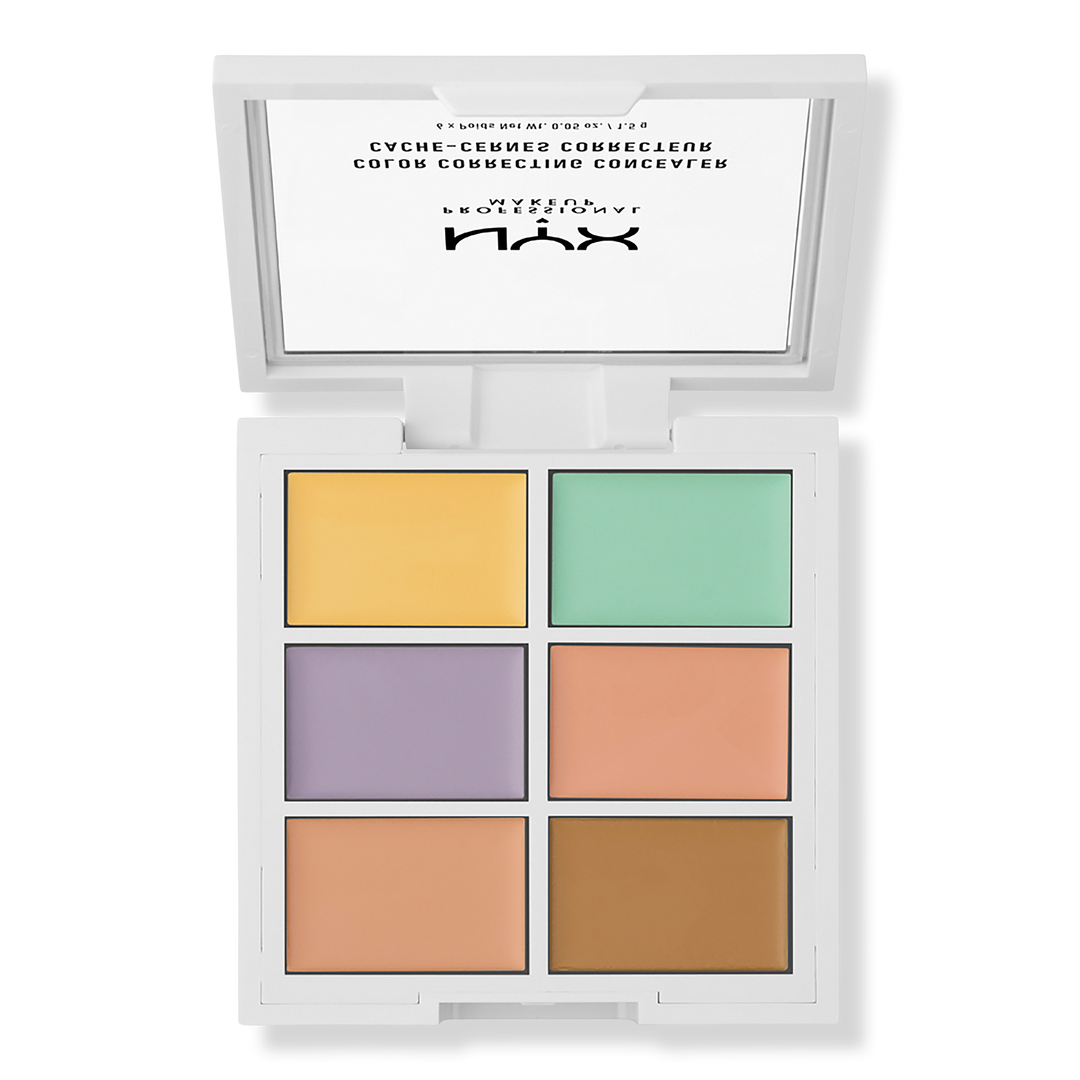
Our pick: NYX Professional Makeup Color Correcting Palette
Palette | $12.00
Shop NYX Professional Makeup Color Correcting Palette at Ulta Beauty →
Six shades, endless problem-solving. This wallet-friendly palette gives you a corrector for every tone, redness, dark spots, dullness and more, in one compact. The creamy formula blends easily and won't crease under foundation.
Key specs: 6 correcting shades · Creamy, blendable formula · Targets redness, dark circles and dullness · Budget-friendly
Ulta Beauty Advisor tip: Dab a tiny bit with your ring finger and tap, never drag, to blend. Let it set for a sec before you move to foundation!
Step 3: Foundation
Now for your main event. Foundation evens out your overall tone. The trick is choosing a formula that matches both your skin type and the finish you love.
Formula tip: Match your foundation texture to your primer to avoid pilling. Water-based over water-based, silicone over silicone. For coverage, sheer-to-medium looks the most like real skin, while buildable formulas let you dial it up for special occasions.
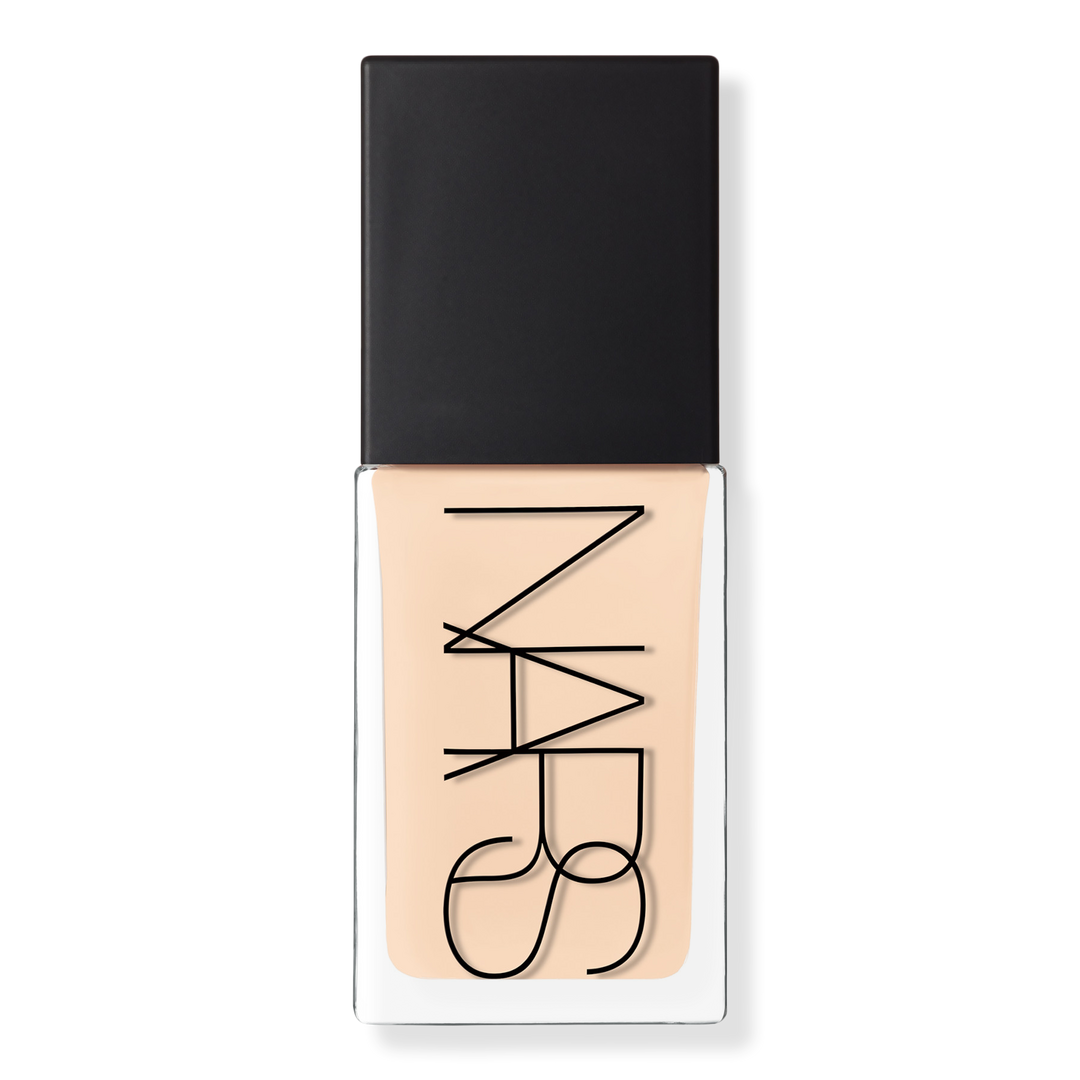
Our pick: NARS Light Reflecting Advanced Skincare Foundation
Foundation | $55.00
Shop NARS Light Reflecting Advanced Skincare Foundation at Ulta Beauty →
Skin, but make it luminous. This buildable formula gives a natural, radiant finish that looks lit from within, never flat, never masky. It comes in a wide shade range so you can find your true match, and it wears comfortably all day.
Key specs: Buildable medium coverage · Natural, radiant finish · Broad shade range · Good for most skin types
Ulta Beauty Advisor tip: Start with one layer and build only where you want more. A damp beauty sponge presses it in for the most skin-like finish; brushes give more coverage if that's your mood!
Step 4: Concealer
Concealer comes after foundation, not before. Why? Because your foundation may already cover a lot, so you'll use way less concealer and avoid cakeyness. Use it to brighten under the eyes and spot-cover anything that still peeks through.
Formula tip: Under the eyes, go for a hydrating, radiant concealer so it won't settle into fine lines. For blemishes, a fuller-coverage formula that matches your skin tone works best.
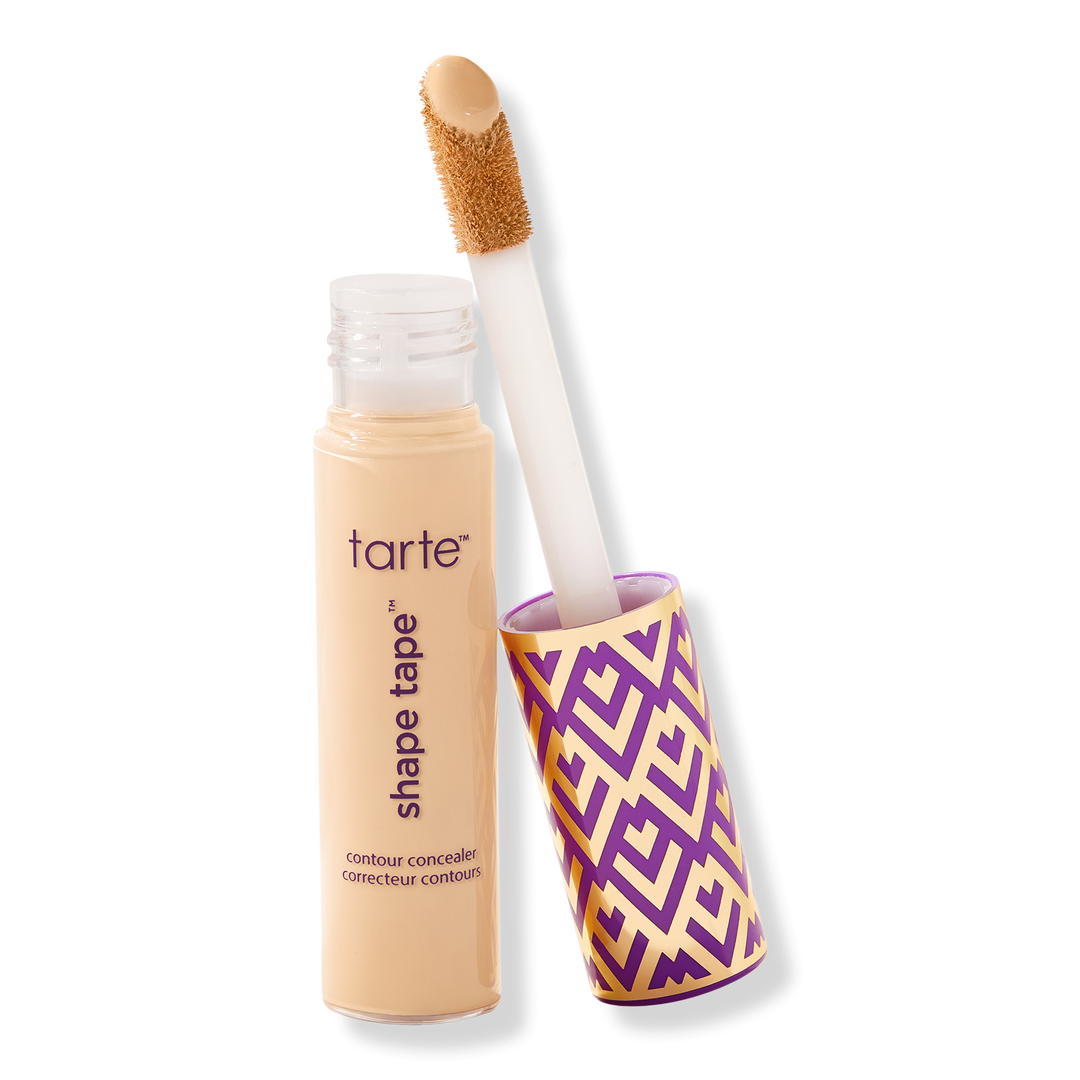
Our pick: Tarte Shape Tape Concealer
Concealer | $32.00
Shop Tarte Shape Tape Concealer at Ulta Beauty →
The fan-fave for a reason. This full-coverage concealer brightens, covers and wears for hours without caking. A little brightens tired eyes; a dab covers spots without looking heavy.
Key specs: Full, buildable coverage · Long-wearing formula · Wide shade range · Good for under eyes and spot concealing
Ulta Beauty Advisor tip: Under your eyes, draw a small triangle pointing toward your cheek, then blend upward and outward. Less product than you think—you can always add more!
Step 5: Setting powder or spray
Last step, big payoff. Setting hair everything in place so your base stays put. Powder mattifies and stops creasing; spray melts the layers together for a natural, second-skin finish. Do you! Or use both: powder where you get oily, spray everywhere.
Formula tip: A finely milled translucent powder won't add color or heaviness. Setting sprays with a hydrating base keep matte formulas from looking flat.
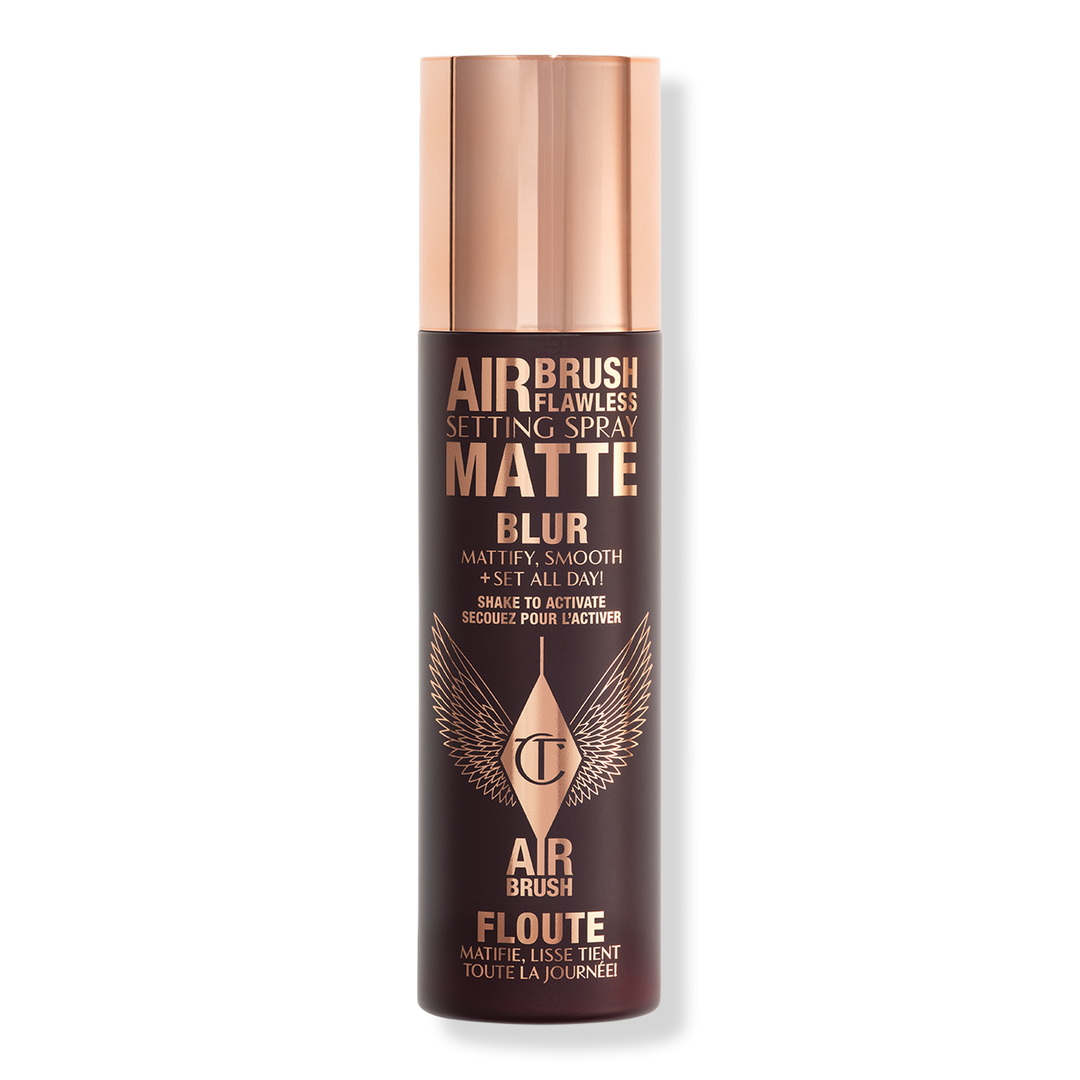
Our pick: Charlotte Tilbury Airbrush Flawless Matte Setting Spray
Setting spray | $25.00 to $39.00
Shop Charlotte Tilbury Airbrush Flawless Matte Setting Spray at Ulta Beauty →
The finishing touch that does the most. This setting spray hair your base in for extended wear while keeping skin looking fresh, never dry or tight. One even mist and your look is set for the long haul.
Key specs: Long-wear hold · Comfortable, non-drying finish · Refillable option available · Good for all skin types
Ulta Beauty Advisor tip: Hold it about eight inches from your face and mist in an X then a T motion for full coverage. Let it dry naturally, no fanning needed!
Your smooth base routine, start to finish
Here's the whole sequence in one scannable spot:
- Prep: Cleansed, moisturized skin plus SPF (let it absorb)
- Primer: Smooth and grip
- Color corrector: Neutralize where needed
- Foundation: Even out your tone
- Concealer: Brighten and spot-cover
- Setting powder or spray: Lock it in
Keep the layers thin. Thin and even beats thick and heavy every single time.
Habits that keep your base looking its best
Great technique is only half the story. These little moves make a big difference:
- Start with clean, hydrated skin. Even oily skin needs moisture. Dry patches grab makeup and show texture, so never skip your moisturizer.
- Give each layer a beat to set. Rushing causes sliding and pilling. Patience pays off in wear time.
- Clean your tools. Dirty sponges and brushes drag product around unevenly and can lead to breakouts. Wash them regularly.
- Don't over-apply. More product isn't more coverage, it's more likely to cake. Build slowly.
- Always remove your makeup before bed. Sleeping in it clogs pores and undoes all your skin care work.
The bottom line
A smooth base isn't about owning the most products, it's about layering the right ones in the right order. Prep well, keep every layer thin and let each step do its job. Nail that sequence and you'll get skin that looks fresh, even and unmistakably you.
Frequently asked questions
Do I really need a primer?
Not always, but it helps a lot. Primer smooths texture and grips your makeup so your base lasts longer. If your foundation tends to fade or sink into pores, primer's worth adding.
What goes first, concealer or foundation?
Foundation first. It often covers more than you expect, so you'll need less concealer, which means a lighter, smoother finish under the eyes and on blemishes.
How do I stop my foundation from pilling?
Match your textures. Water-based products layer best with other water-based products, and silicone with silicone. Also give each layer time to absorb before adding the next.
Powder or setting spray: which should I use?
Either works, and both together is great. Powder mattifies oily areas and stops creasing. Setting spray melts everything into a natural finish. Choose based on your skin type and the look you want.
How can I make my base look more natural?
Use thin layers, build only where you need coverage and press product in with a damp sponge instead of piling it on. Sheer-to-medium coverage reads most like real skin.
Can I skip color correcting?
Totally. It's an optional step for specific concerns like redness or dark circles. If your foundation and concealer handle everything, no need to add it.
Related Content: Best Affordable Makeup, Finding Your Best Blush, How to Find Your Undertones, How to Prevent Concealer from Creasing, Everyday Makeup Routine, Where to Apply Blush for Your Face Shape
Discover more Makeup Buying Guides and Beauty Education Articles