How to apply lip liner: a step-by-step guide for beginners
By Ulta Beauty Advisors · Published October 2026
All products featured are available at Ulta Beauty at the time of selection. Ulta Beauty Advisors select products independently. Prices and availability are subject to change.
Your lips, your lines, your look. Lip liner is the little beauty step that makes a big difference. Whether you're defining your natural lip shape, creating a fuller-looking pout or keeping your lipstick in place, the right technique can take your lip look from everyday to extra in just a few swipes.
New to lip liner? You're in the right place. From choosing your shade to mastering the perfect outline, here's everything you need to know about applying lip liner like a pro.
What is lip liner, and what does it do?
Lip liner is a makeup pencil or crayon designed to define, shape and enhance the appearance of your lips. Think of it as your lipstick's BFF. It creates a more precise outline, helps reduce feathering and can make your lip color look more polished.
Here's why lip liner deserves a spot in your makeup bag:
Defines your lip shape: Creates a crisp outline and highlights your natural Cupid's bow.
Makes lips look fuller: Strategic placement can create the illusion of more volume without adding product beyond your natural lip line.
Helps prevent feathering: Creates a boundary that can help keep creamy lipsticks from migrating into fine lines.
Extends lip color wear: Filling in your lips with liner gives lipstick an extra layer of color underneath.
Works on its own: Pair your favorite liner with a clear gloss or lip balm for an easy, everyday look.
How to apply lip liner step by step
Your beginner-friendly guide to smooth, defined lips.
Step 1: Prep your lips
A smooth base makes all the difference. Start with clean lips and gently remove any loose, flaky skin using a damp washcloth. Follow with a lightweight lip balm to add moisture.
Let the balm absorb, then blot away any excess before applying liner. Too much slip can make it harder for the pencil to grip your lips.
Ulta Beauty Advisor tip: Skip aggressive scrubbing. Gentle prep is all you need for a smoother-looking finish.
Step 2: Choose your lip liner shade
The right shade depends on the look you're going for.
For a natural look: Choose a liner close to your natural lip color.
For a fuller-looking pout: Try a liner one or two shades deeper than your lipstick, then blend the edges.
For a bold lip: Match your liner to your lipstick for a defined, coordinated finish.
For an ombré effect: Use a deeper shade around the edges and a lighter lipstick toward the center.
Not sure where to start? A neutral pink, rose, mauve or brown that complements your natural lip tone is a versatile first pick.
Step 3: Define your Cupid's bow
Start at the center of your upper lip, where the two peaks form your Cupid's bow. Use light, short strokes to trace the natural shape.
For a softer, rounded look, gently connect the peaks with a subtle curve. For more definition, follow each peak individually.
Ulta Beauty Advisor tip: Rest your elbow on a steady surface while lining. More control, less wobble.
Step 4: Outline your lower lip
Next, place your pencil at the center of your lower lip and trace along your natural lip line. Work outward toward each corner using small strokes rather than one long line.
Keep your mouth relaxed and slightly open so you can see the natural contours of your lips.
Step 5: Connect the corners
Starting at the outer edges of your upper lip, connect your liner to the center. Repeat on your lower lip, making sure the lines meet naturally at the corners.
Use a light hand and build definition gradually. You can always add more liner, but starting soft makes blending easier.
Step 6: Blend and fill
For a softer finish, gently blend the liner inward using a lip brush or clean fingertip.
Want your lipstick to last longer? Lightly shade your entire lip surface with liner before applying your lip color. This creates an even base and helps minimize the appearance of fading.
Step 7: Finish with lipstick or gloss
Now for the fun part. Swipe on your favorite lipstick, lip gloss or lip oil.
For a more defined finish, keep your lipstick within the lined edges. For a soft, diffused look, blend the liner and lip color together.
Prefer something low-key? Wear your liner with a clear gloss for an effortless, polished pout.
How to overline lips for a fuller look
Want a little extra volume without changing your natural lip shape? Overlining uses lip liner to create the illusion of fuller lips. Tricks such as contouring lips create definition and dimension.
The secret is keeping it subtle and focusing on the center of your lips rather than extending the entire outline.
Here's how to do it:
Start at your Cupid's bow. Draw just slightly above your natural upper lip line.
Add fullness to the bottom. Trace just below the center of your lower lip.
Follow your natural corners. Gradually bring the liner back to your actual lip line as you move outward.
Blend inward. Soften the edges so the liner looks like a natural shadow.
Add your lip color. Finish with lipstick and a touch of gloss at the center for extra dimension.
Ulta Beauty Advisor tip: Try a neutral liner slightly deeper than your natural lip color. The subtle contrast creates dimension without looking overly drawn on.
How to apply lip liner for different lip shapes
There's no one-size-fits-all way to line your lips. The best technique is the one that makes you feel like you.
For thin lips
Focus on creating dimension at the center of your upper and lower lips. Slightly overline these areas, then follow your natural lip shape toward the corners. A lighter lipstick or glossy finish can add to the fuller-looking effect.
For full lips
Follow your natural lip line for crisp definition or blend the liner inward for a softer finish. A matching liner and lipstick combination helps create an even, polished look.
For uneven lips
Use short, controlled strokes to balance the appearance of your lip outline. You can slightly adjust where you place the liner on either side, then blend to soften the difference.
For a defined Cupid's bow
Trace each peak individually using a sharpened pencil. Keep the lines precise at the center, then gently connect them to the rest of your lip outline.
Common lip liner mistakes to avoid
Even a small adjustment can make a big difference. Watch out for these common slip-ups:
Using too much pressure: Heavy strokes can create harsh lines. Start lightly and build color.
Skipping lip prep: Dry, flaky lips can make liner look uneven. Moisturize first.
Overlining the corners: Extending the outer corners too far can make your lip shape look less natural.
Choosing a shade that's too dark for your intended look: Strong contrast can work beautifully, but blend the edges if you want a softer effect.
Leaving a harsh outline: Unless you're going for a deliberately defined look, gently blend your liner inward.
Using a dull pencil for precise looks: A sharpened tip gives you more control when outlining smaller areas.
Our product picks
From budget-friendly basics to long-wearing favorites, these lip liners available at Ulta Beauty make it easy to find your perfect match. Prices are approximate and subject to change.
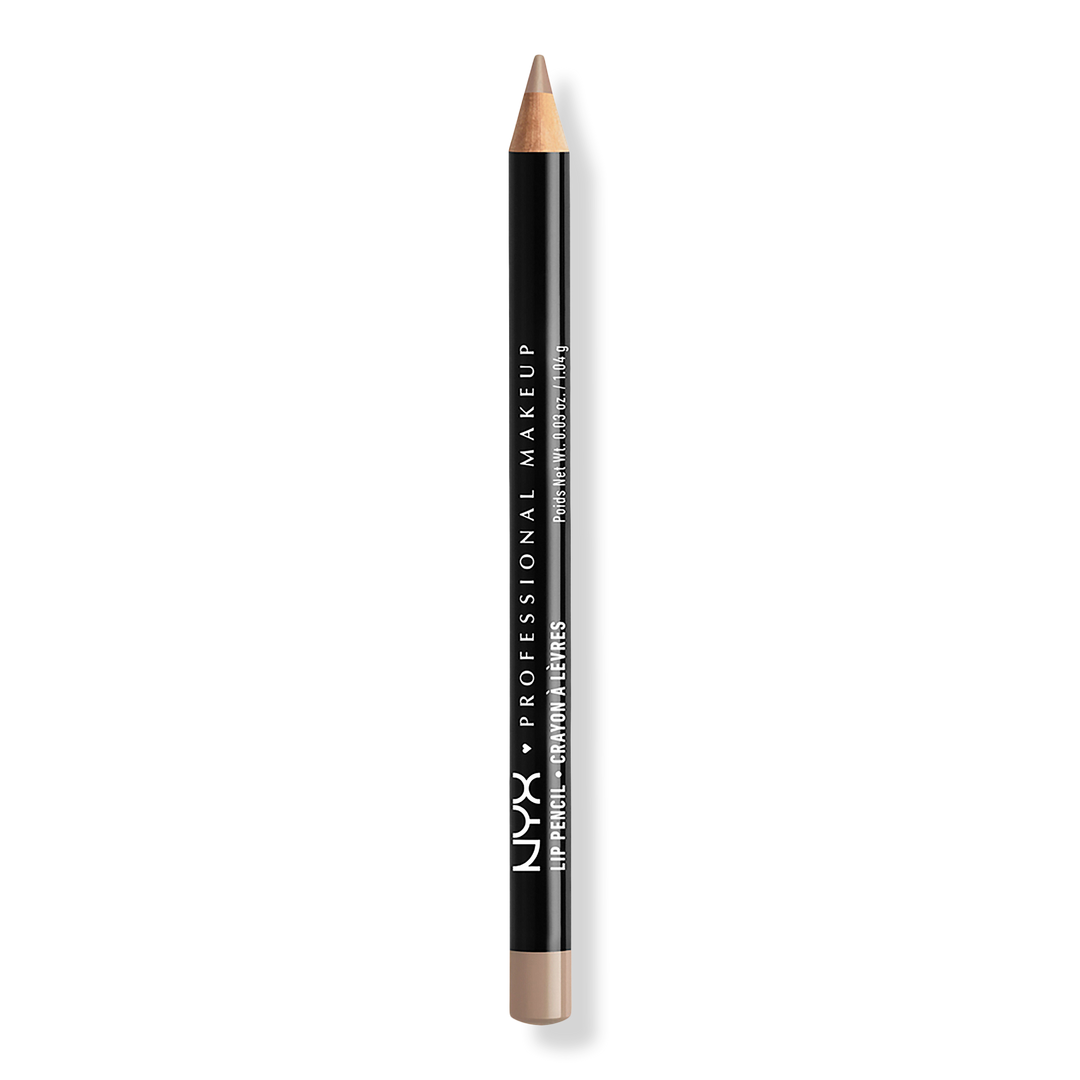
Best lip liner for beginners: NYX Professional Makeup Slim Lip Pencil
Lip liner pencil | $6.00
Shop NYX Professional Makeup Slim Lip Pencil at Ulta Beauty →
Your first lip liner crush. This creamy pencil glides on smoothly, making it easy to trace, define and blend your natural lip shape. With plenty of shades to choose from, it's an affordable way to experiment with everything from subtle definition to bold lip looks.
Key specs: Creamy texture · Sharpenable pencil · Jojoba oil, shea butter and coconut oil · Multiple shades
Ulta Beauty Advisor tip: Start with a shade close to your natural lip color and use short, light strokes to build your outline.
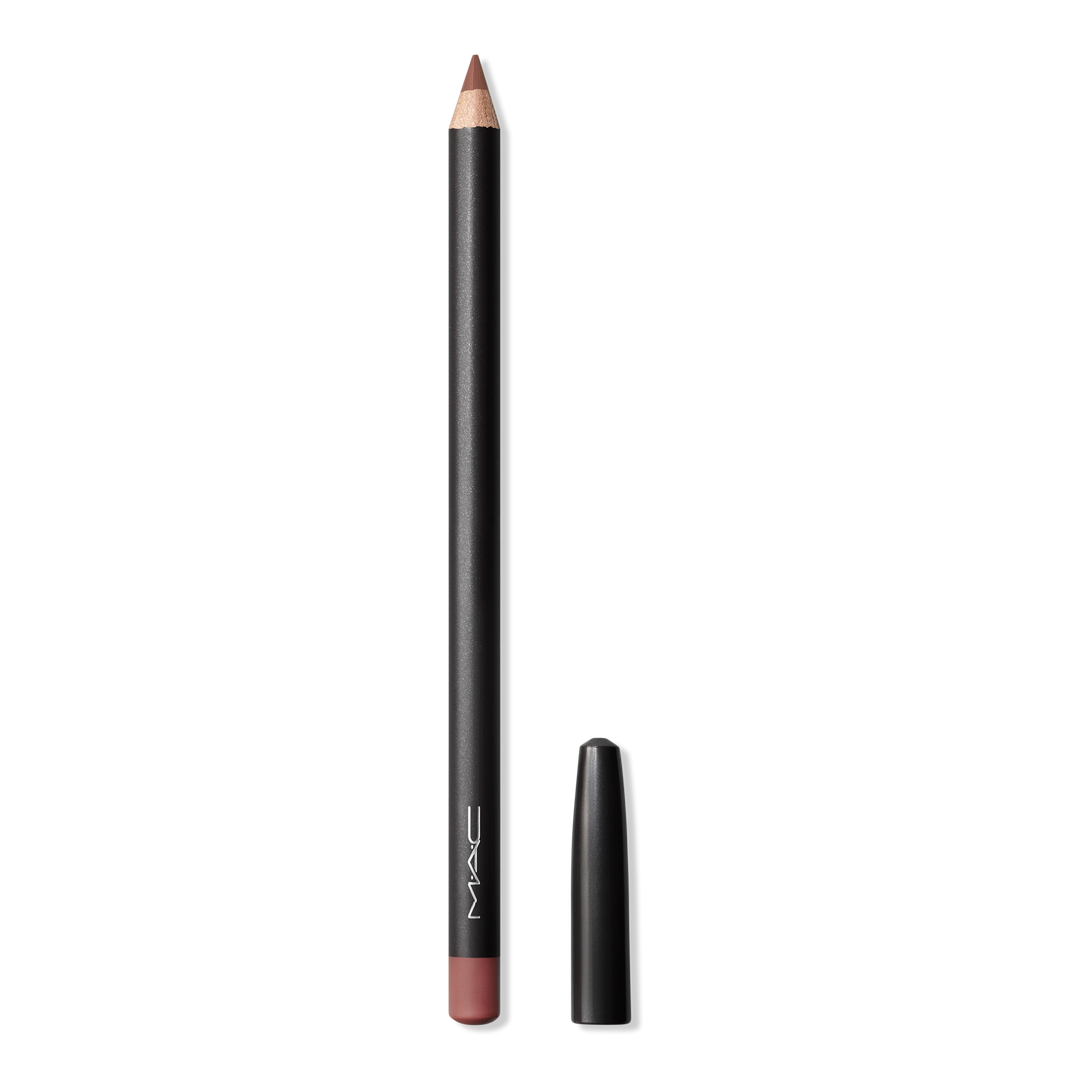
Best lip liner for everyday definition: MAC Lip Pencil
Lip liner pencil | $25.00
Shop MAC Lip Pencil at Ulta Beauty →
Define it. Shape it. Own it. This classic lip pencil is a go-to for creating a precise outline and pairing with your favorite lipstick. Its traditional pencil format gives you control over where you place your color, whether you're creating a crisp edge or a softly blended lip.
Key specs: Sharpenable pencil · Precise application · Multiple shades · Ideal for defining lip contours
Ulta Beauty Advisor tip: Pair a neutral shade with your favorite nude lipstick, then gently blend the liner inward for a soft, dimensional finish.
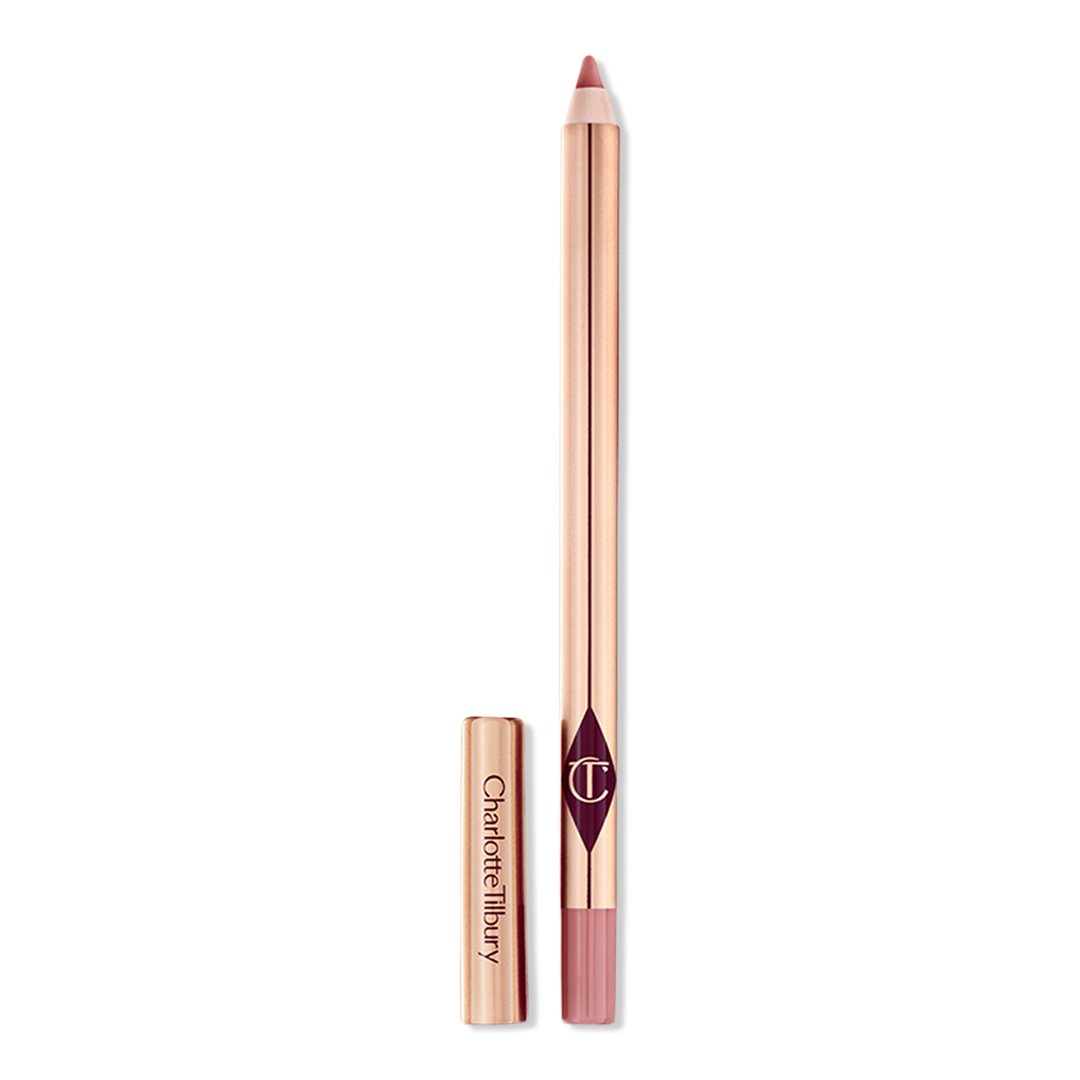
Best lip liner for long-lasting definition: Charlotte Tilbury Lip Cheat Long-Lasting Waterproof Lip Liner
Waterproof lip liner | $28.00
Shop Charlotte Tilbury Lip Cheat at Ulta Beauty →
Your lip look, locked in. This waterproof lip liner is designed for long-lasting definition, making it a great pick when you want your lip shape to stay looking polished. Use it to outline your natural lips or create a subtly fuller-looking effect.
Key specs: Waterproof formula · Long-wearing · Multiple shades · Designed for precise shaping
Ulta Beauty Advisor tip: Fill in your lips with a light layer before adding lipstick to create a more even base for your color.
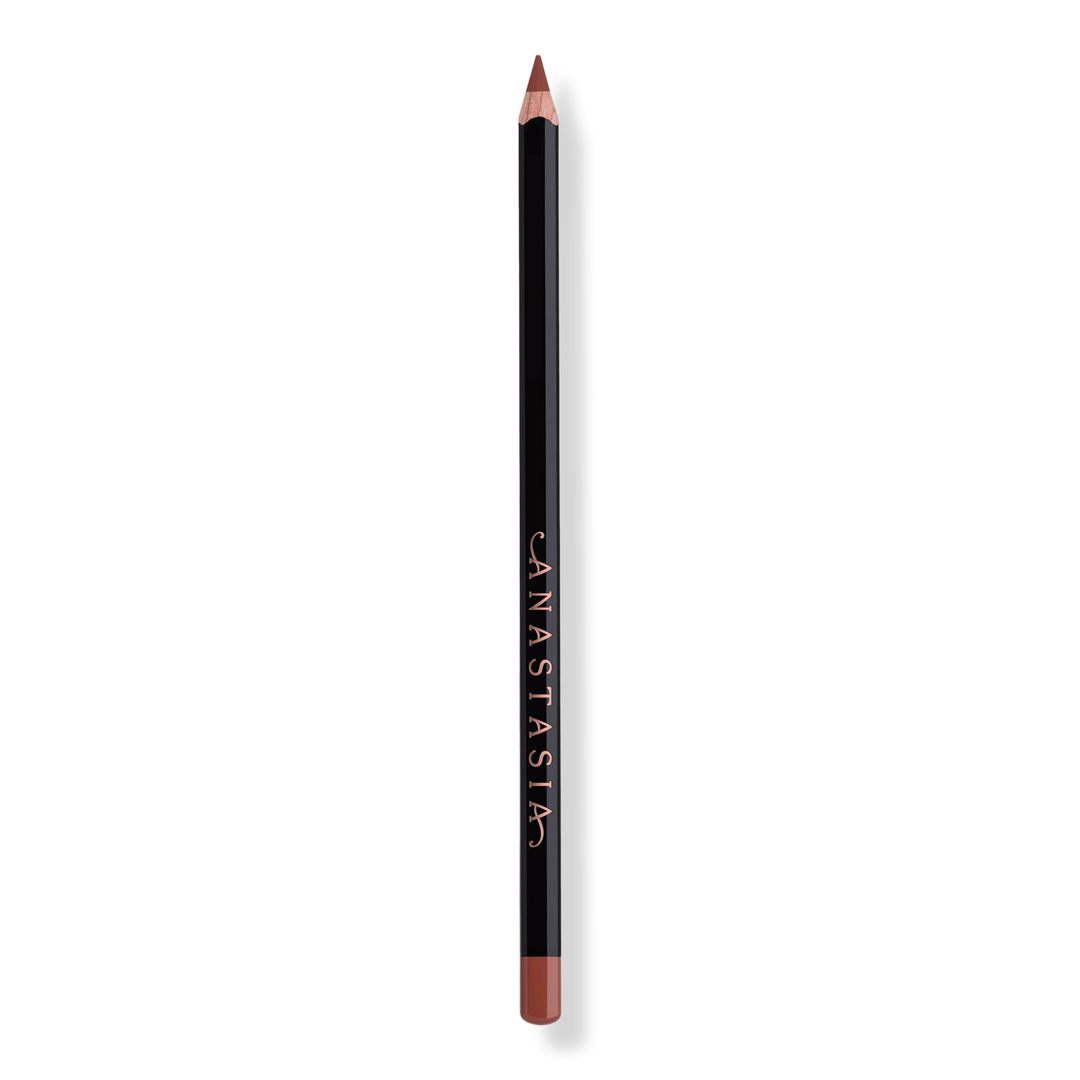
Best lip liner for a soft matte look: Anastasia Beverly Hills Velvety-Matte Precision Shaping Lip Liner
Matte lip liner | $22.00
Shop Anastasia Beverly Hills Lip Liner at Ulta Beauty →
Soft edges, major definition. This velvety-matte liner is made for shaping and defining your lips without a glossy finish. Whether you're creating a classic nude lip or adding depth to your favorite lipstick, it helps deliver a polished, matte look.
Key specs: Velvety-matte finish · Precision shaping · Multiple shades · Pencil format
Ulta Beauty Advisor tip: Use a slightly deeper shade at the outer corners of your lips and blend toward the center for a softly sculpted effect.
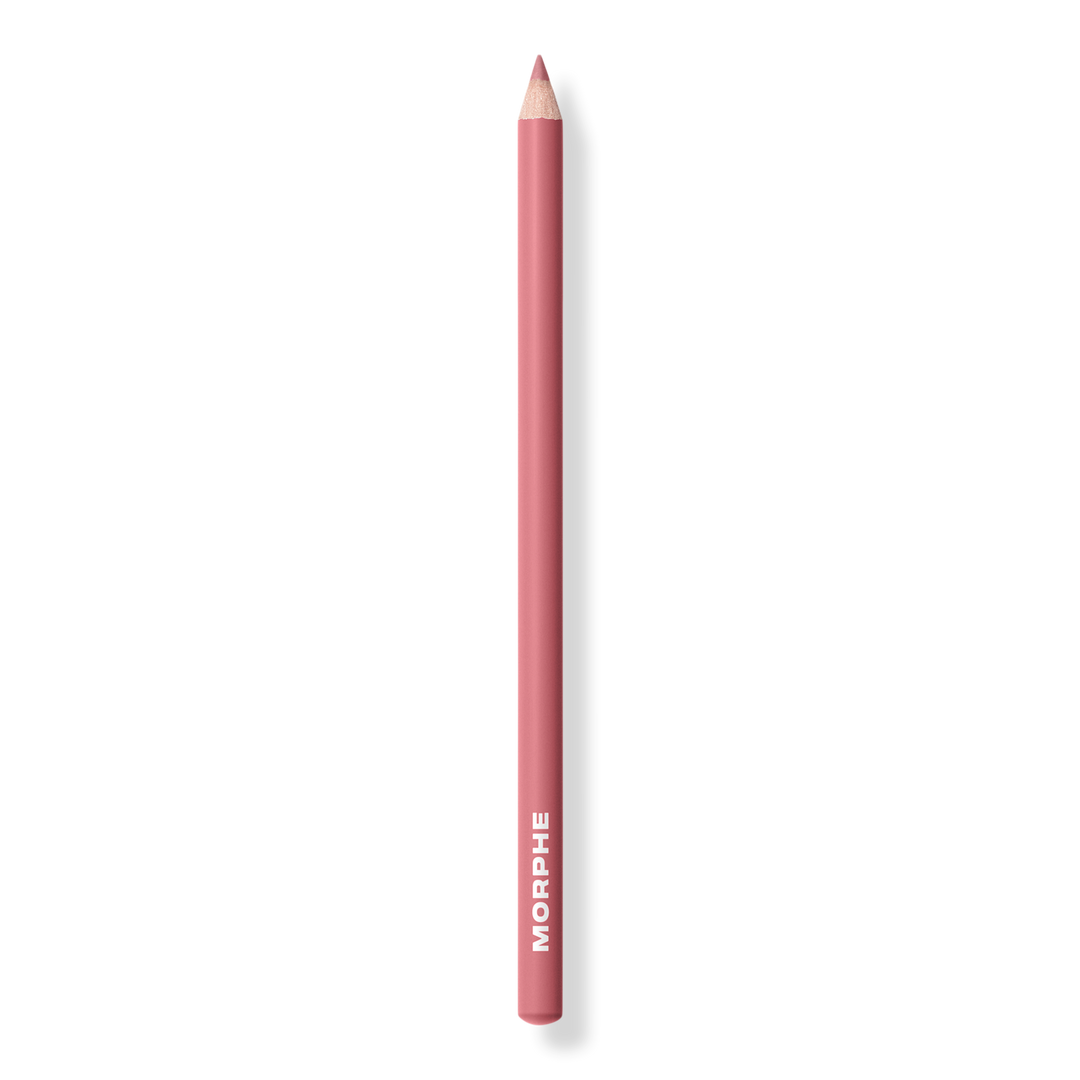
Best affordable lip liner: Morphe Signature Lip Pencil
Lip liner pencil | $7.00
Shop Morphe Signature Lip Pencil at Ulta Beauty →
More shades, more ways to play. This affordable pencil comes in a wide range of colors, making it easy to experiment with nude, pink, brown and bold lip combinations. A great addition to your makeup bag when you love switching up your lip look.
Key specs: Multiple shades · Pencil format · Budget-friendly · Only at Ulta Beauty
Ulta Beauty Advisor tip: Try pairing a deeper brown liner with a rosy nude lipstick for a softly blended, dimensional lip.
FAQs about applying lip liner
Do you apply lip liner before or after lipstick?
Most people apply lip liner before lipstick to create a defined outline and help guide color placement. However, you can also apply liner after lipstick to sharpen the edges or correct uneven areas. For a longer-lasting look, try filling in your lips with liner before adding lipstick.
How to apply lip liner for beginners?
Start with a pencil close to your natural lip color. Trace your Cupid's bow, outline the center of your lower lip and connect the lines toward the corners using short, gentle strokes. Blend slightly inward, then finish with lipstick or gloss. Keep your pencil sharpened for better control.
Should lip liner be darker or lighter than lipstick?
It depends on your desired look. Matching your liner to your lipstick creates a more uniform finish, while choosing a shade one or two shades deeper adds dimension. A lighter liner can work for creative makeup looks, but it's less commonly used for traditional lip definition.
Can you wear lip liner without lipstick?
Absolutely! Lip liner can be worn on its own for a defined, matte-inspired look or paired with clear lip gloss, lip balm or lip oil. For a more even finish, lightly fill in your entire lips with liner rather than outlining only the edges.
How do you keep lip liner from smudging?
Start with clean, dry lips and blot away excess lip balm before applying your liner. Choose a long-wearing or waterproof formula, use light layers and allow the product to set before adding lipstick or gloss. Filling in your lips with liner may also help your color wear more evenly.
How do you make lip liner look natural?
Choose a shade close to your natural lip color, follow your existing lip shape and use short, gentle strokes. Blend the liner inward to soften any harsh edges, then finish with a sheer lipstick, balm or gloss for an effortless look.
How do you blend lip liner?
After outlining your lips, use a clean fingertip, lip brush or the edge of your pencil to gently soften the color toward the center of your mouth. Work in small motions while the liner is still easy to move. The goal is a smooth transition between your liner and lip color.
Can you use lip liner as lipstick?
Yes! Many lip liners can be used to fill in your entire lips for an all-over color look. Start by outlining, then shade the rest of your lips with light strokes. Because some formulas feel drier than traditional lipstick, you can finish with a hydrating balm or gloss for added comfort.
How often should you sharpen lip liner?
Sharpen traditional lip pencils whenever the tip becomes too rounded for precise application. A finer point helps you define your Cupid's bow and lip corners, while a slightly rounded tip can be useful for filling in larger areas. Retractable liners may not need sharpening, depending on their design.
Related Content: Best Sunscreen Under Makeup, Why Does Foundation Oxidize?, Shop Face Primers, Shop Foundation, Shop Setting Sprays
Discover more Makeup Buying Guides and Beauty Education articles.