Use the following zoom and pan buttons to control the image that follows them
Tab through the images or use the previous or next buttons to navigate each product image
Online only price
or


Summary
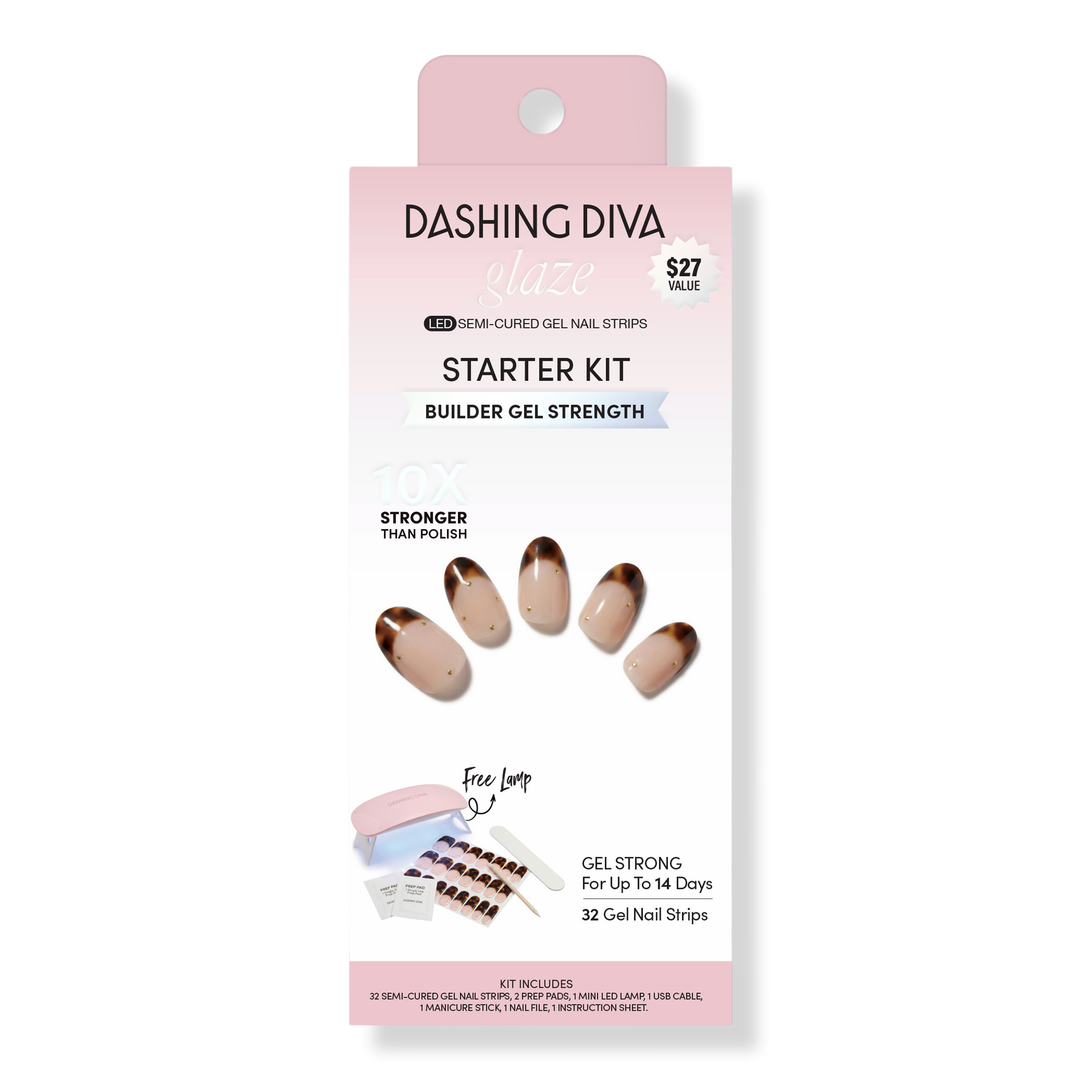
Everything you need for a salon-quality manicure at home. The GLAZE Starter Kit includes semi-cured gel nail strips, an LED lamp, and easy-to-use essentials for a mirror-shine finish with builder gel strength that lasts up to 14 days. Cure in just 60 seconds for flawless results.
Benefits
- ALL-IN-ONE NAIL STRIP: Base, color, and top coats combined in an easy-to-apply strip. No painting needed
- BUILDER GEL STRENGTH MADE EASY: Instant strength and protection supports natural nail growth.
- THE SALON GEL LOOK: Signature Dome Effect ™ gives pro-level, sculpted dimension.
- EASY, GENTLE REMOVAL: Quick, no soak-off removal with Magic Off+ (sold separately)
- LONG-WEARING: Strips harden under Mini LED Lamp and last for up to 14 days
Includes
- 1 mini LED Lamp, 32 semi-cured gel nail strips in 12 sizes, 2 prep pads, 1 nail file, 1 manicure stick
Item 2661698
STEP 1: PREP
•Wash nails with soap and water.
• Shape nails and push back cuticles.
• Use enclosed Prep Pad to ensure nails are clear from oils and residue.
• Make sure your nails are completely dry before application.
STEP 2: SELECT SIZE
• Hold the sheet over nail to find your size. If you are in between sizes, always size down.
STEP 3: APPLY
• Gently lift strip from sheet starting from edge.
• Place strip over the center of your nail, starting at cuticle line and pressing outward. For optimal adhesion, the strip should be placed above the cuticle line avoiding skin or cuticles.
STEP 4: REMOVE FILM
• Remove the protective film.
STEP 5: PRESS
• Press down firmly from center and side to side.
STEP 6: TRIM
• Trim strip flush to your nails using nail scissors or nail clippers.
STEP 7: CURE
• Cure under LED light for 60 seconds.
Pro Tip: Be sure not to expose unused strips to LED light while curing manicure. If GLAZE is exposed to light, it will cure itself and will become unusable. Store in Glaze container while lamp is in use.
STEP 8: FILE
• Position the nail file horizontally along the contour of your nail. With one sweeping motion, file firmly across your free edge. Make sure GLAZE does not exceed beyond your nail length. Any overhang will cause chipping or cracking.
Pro Tip: Using the wooden manicure stick gently press down on glaze strip thoroughly to seal all edges before curing. This will prevent hair and debris from catching onto the nail strip perimeter.
HOW TO REMOVE:
STEP 1: REMOVE
• Apply Magic Off+ (sold separately) or cuticle oil on nail bed.
STEP 2: LIFT
• Use manicure stick to gently and slowly lift nail strip from corner of the cuticle area. • Gradually push the strip off your nail.
Precautions: Flammable. Avoid direct or close contact to flame or extreme heat. Keep away from direct sunlight. Keep out of reach of children.
Acrylates Copolymer, Polyurethane-11, Dipentaerythrityl Pentaacrylate, Acrylates Crosspolymer, Polyester-5, Synthetic Fluorophlogopite, Polyethylene Terephthalate, Polyurethane-33, Aluminum Hydroxide, Tin Oxide. MAY CONTAIN: Chromium Oxide Green, Iron Oxides, Red 36, Manganese Violent, Blue 1 Lake, Titanium Dioxide, Aluminum Powder.
We think you'll like
Use previous and next buttons to navigate the slides of the We think you'll like Product Carousel