Use the following zoom and pan buttons to control the image that follows them
Tab through the images or use the previous or next buttons to navigate each product image
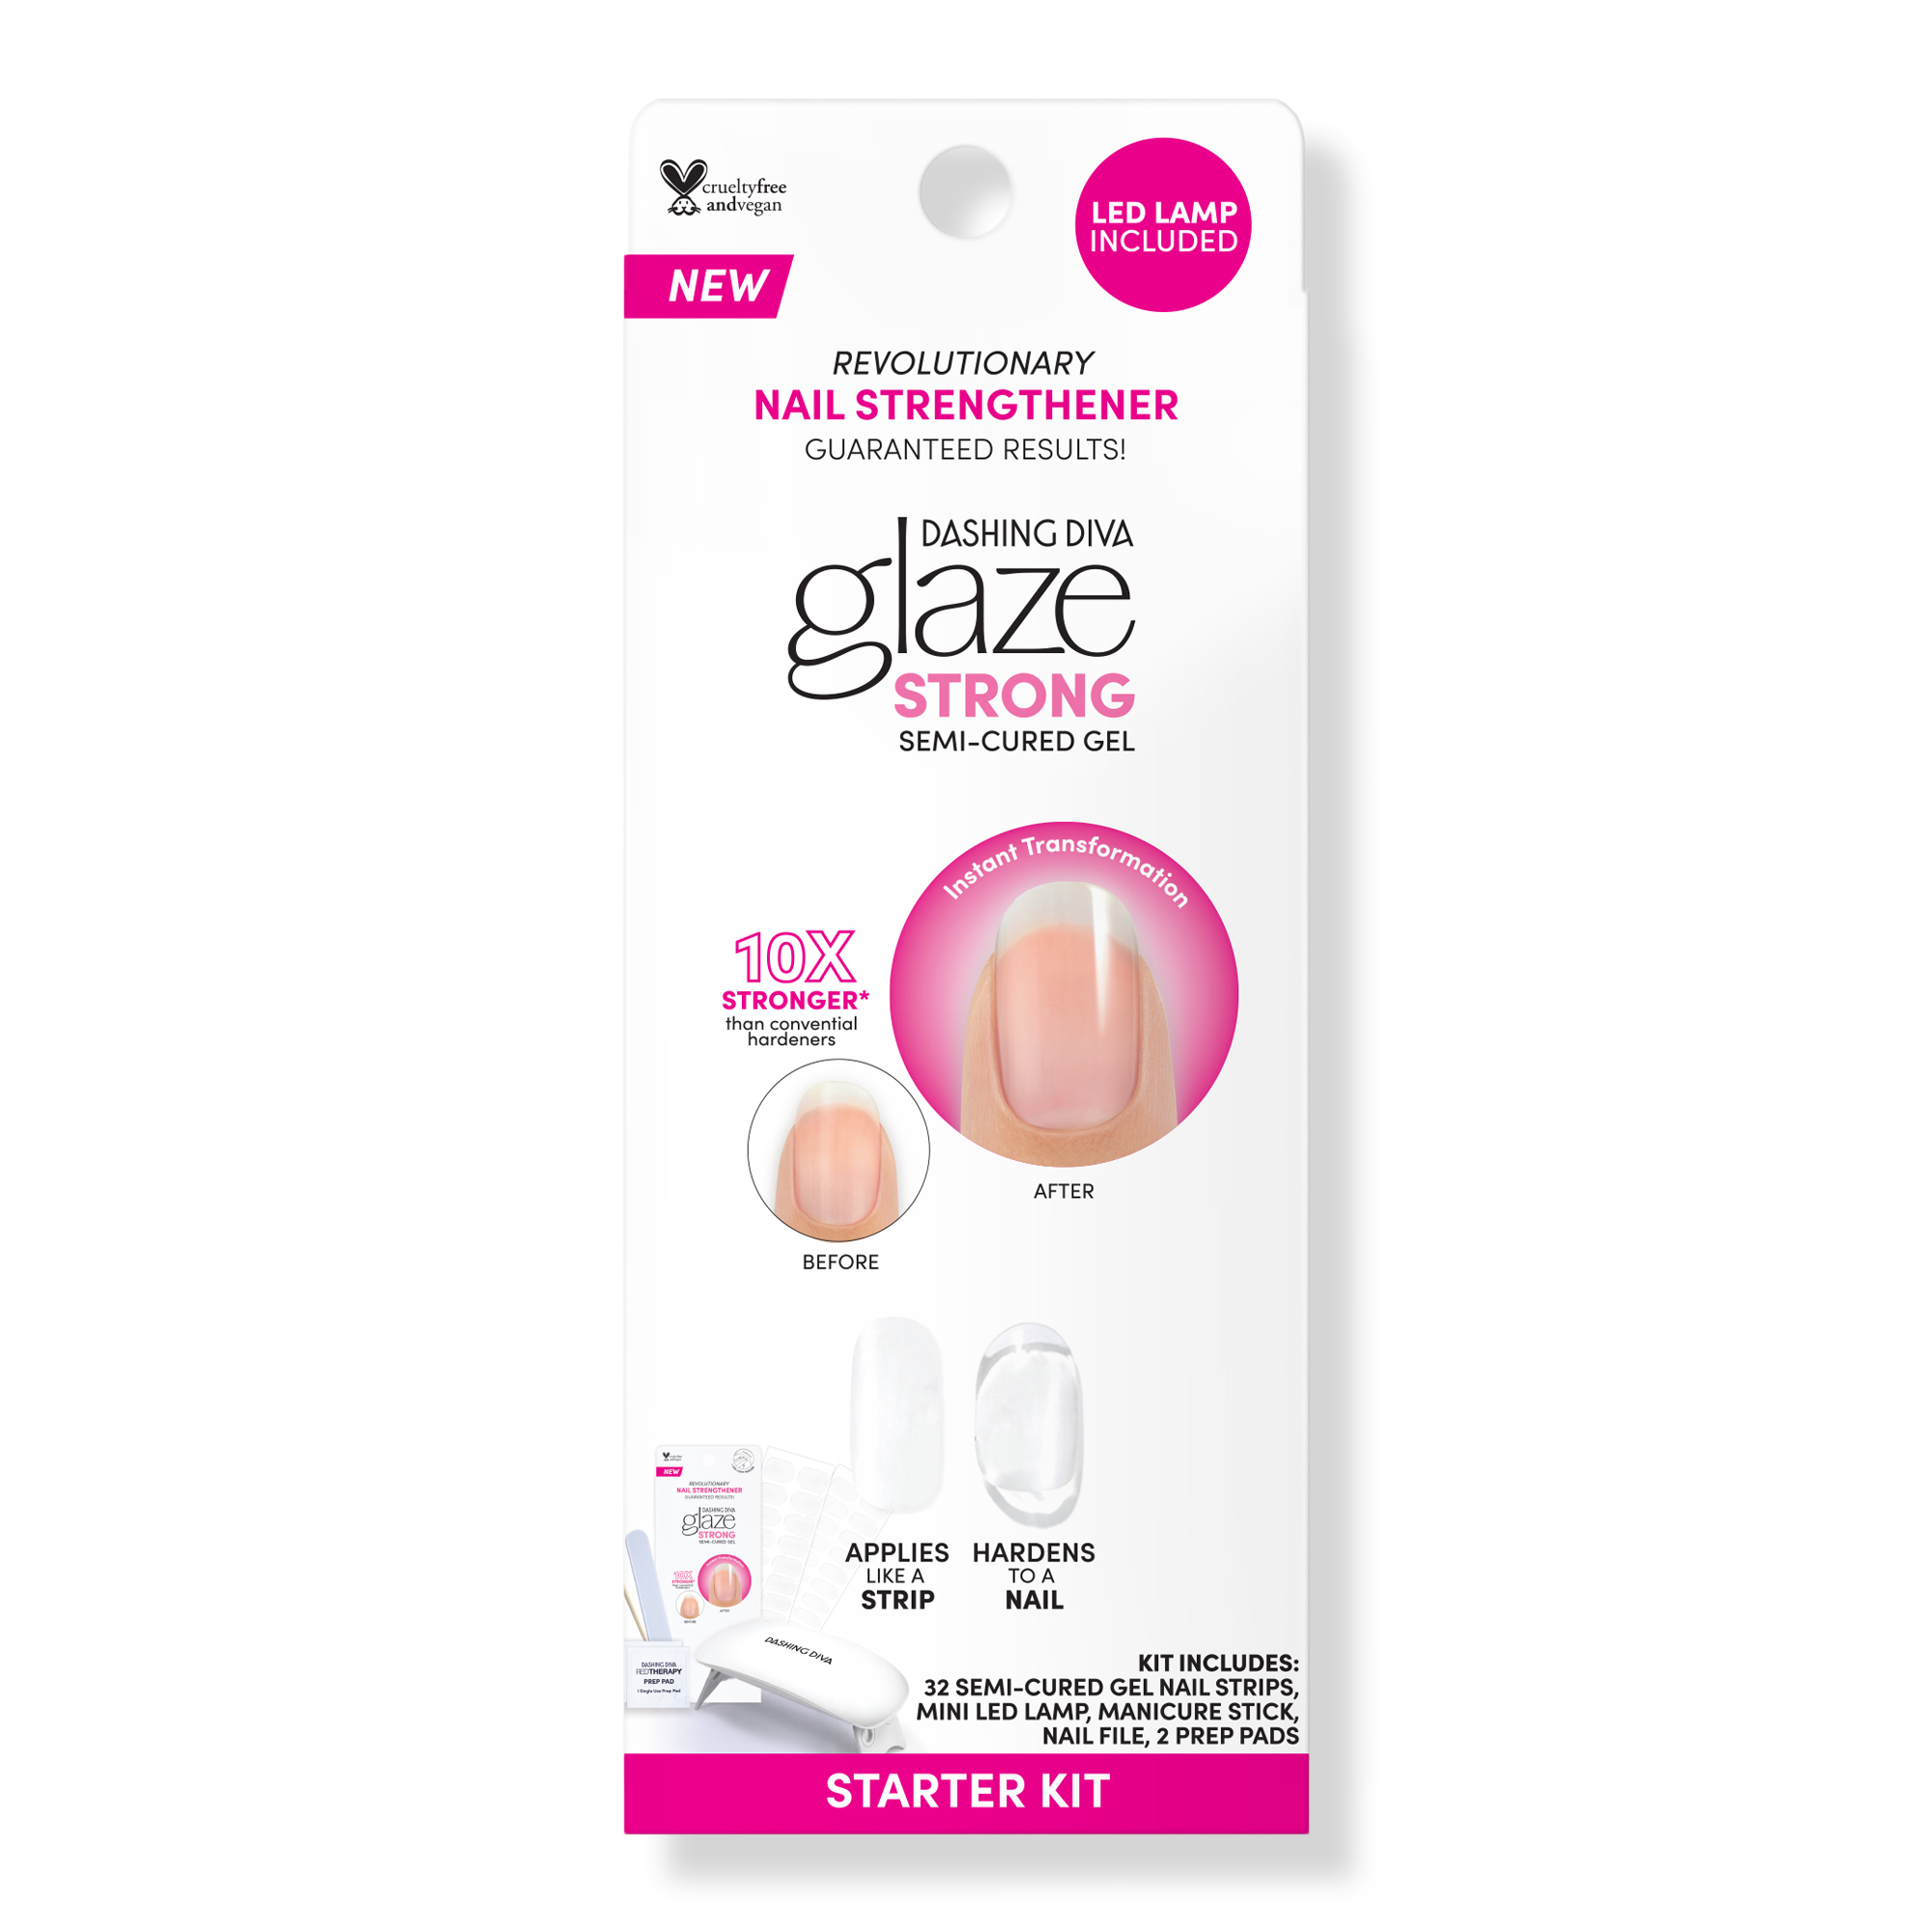
Dashing Diva Clear Glaze Strong Starter Kit
or
Offers
(2)Use previous and next buttons to navigate the slides of the %1 Product Carousel

Summary
Experience instant strength in a strip with Dashing Diva's Clear Glaze Strong Starter Kit. This triple-layer semi-cured gel nail strip helps to strengthen nails for optimal nail growth as it shields and protects nails for up to 14 days.
Features
- A clear semi-cured gel nail strip that creates the appearance of a thicker, smoother nail with a healthy, high-shine finish
- The all-in-one formula smooths imperfections, resulting in triple the volume and high shine
- Virtually ends breakage by providing nails with 14 days of gel-strong protection
- Instantly helps to strengthen nails for optimal nail growth while protecting against future harm
- Triple layer gel makes natural nails appear flawlessly smooth
- 10-free formula
Includes
- Mini LED Lamp
- 32 semi-cured gel nail strips (in 11 sizes)
- 2 Prep Pads
- 1 Nail File
- 1 Manicure Stick
Item 2599359
Step 1: Prep - Wash hands with soap and water. Shape nails and push back cuticles. Use enclosed Prep Pad to ensure nails are clear from oils and residue. Make sure your nails are completely dry before application. Pro Tip: Because GLAZE is an all-in-one product, no additional Base Coat or Nail Strengthener is needed.
Step 2: Select Size - Hold the sheet over nail to find your size. If you are in between sizes, always size down.
Step 3: Apply - Gently lift strip from sheet starting from edge. Place strip over the center of your nail, starting at cuticle line and pressing outward. For optimal adhesion, the strip should be placed above the cuticle line avoiding skin or cuticles.
Step 4: Remove Film - Remove the protective film.
Step 5: Press - Press down firmly from center and side to side.
Step 6: Trim - Trim strip flush to your nails using nail scissors or nail clippers.
Step 7: Cure - Press the button at the back of the lamp First insert four fingers under the lamp and cure. Next insert thumb and cure separately. Cure under LED light for 45 seconds. Pro Tip: To activate two-timer function quickly push button for 45 second cure. For a 60 second cure, hold down button for 3 seconds.
Step 8: File - Position the nail file horizontally along the contour of your nail. With one sweeping motion, file firmly across your free edge. Make sure GLAZE does not exceed beyond your nail length. Any overhang will cause chipping or cracking. Pro Tip: Using the wooden manicure stick gently press down on glaze strip thoroughly to seal all edges before curing. This will prevent hair and debris from catching onto the nail strip perimeter.
How To Remove:
Step 1: Remove - Apply cuticle oil on nail bed.
Step 2: Lift - Use manicure stick to gently and slowly lift nail strip from corner of the cuticle area. Gradually push the strip off your nail. Caution: Do not peel off with force or in one quick motion.
Caution: Keep out of reach of children.
Polyurethane-11, Acrylates Copolymer, Silica, Polyester-5, Chromium Oxide Greens (Ci 77288), Iron Oxides (CI 77499), Red 36 (CI 12085), Manganese Violet (CI 77742), Aluminum hydroxide (CI 77002), Blue 1 Lake (CI 42090), Synthetic Fluorphlogopite, Titanium Dioxide (CI 77891), Polyethylene Terephthalate, Polyurethane 33, Titanium oxide, Tin oxide, Aluminum Powder (CI 77000)
We think you'll like
12 items
Use previous and next buttons to navigate the slides of the We think you'll like Product Carousel


FENTY BEAUTY by Rihanna
Pro Filt'r Soft Matte Longwear Liquid Foundation


Urban Decay Cosmetics
24/7 Glide-On Waterproof Eyeliner Pencil


Sponsored products
12 items
Use previous and next buttons to navigate the slides of the Sponsored products Product Carousel

Manucurist
Active Glow Nail Polish for a Gloss finish, Nail Strengthener and Growth

Manucurist
Active Shine Nail Polish for Pearlescent Beige effect, Nail Strengthener and Growth


Reviews
Review Snapshot
by PowerReviews
Ratings Distribution
Most Helpful Positive Review
From dubious to dazzled
I was tentative about the Glaze line; yes, I admit it. I've tried the Gloss and only had luck with it as a pedicure. So, I was hesitant to try the Clear Starter Kit, but the price was pretty great, so I figured I didn't have anything to loose. And I wanted to give it a fair run before sharing my res...
Most Helpful Critical Review
DO NOT RECOMMEND
I am a long time fan of semi-cured gel strips. So I know how to use the product. I've used Ohora for the longest time but they don't have any completely clear strips and I'm not allowed to have extravagant designs for work. So when I saw that Dashing Diva had completely clear ones, I thought I'd giv...
144 results
Not worth it
At first I didn't realize that it came with the light which is not strong enough to cure. Also they just pooped off immediately after. Even used the light twice as long. I even used the instructions correctly I was very disappointed because they were very shine and I loved the fact they were clear.

Ok nail strips are but LED lamp broke right away
Probably would not recommend, lamp is horribly cheap. Switch broke after a few minutes and doesn't seem to cure polish very well. Please make a better quality lamp that actually works!
worked decently. I prefer the gel tips better
They worked decently i was hoping for a little better of a product. A few fell off after a few days of washing my hands.
Fail
I was so excited to try this as I am trying to grow my natural nails but this was a fail. They did not cure and were off of my nails within half an hour. Bummer!
Eh
I would probably just order a completely different lamp and get the strips foe cheaper somewhere else
Questions
Q&A
Showing 5 out of 5 Questions
- Q
Can these be applied iver regular nail polish?
- Asked by LD
- Official Answer By Dashing Diva - Brand EngageHi there! For the best adhesion, we recommend not applying anything under Glaze. Clean, dry nails will give you the most optimal results. If you'd like, you can apply a topcoat OVER Glaze, though it's not necessary—just be sure the strips are fully cured first.Was this answer helpful to you
- Q
How do you remove them? Do they damage natural nail?
- Asked by NY
- Official Answer By Dashing Diva - Brand EngageHi there! Here's how to gently remove your GLAZE and prevent damage to your natural nails! 1️⃣ Apply cuticle oil or our Magic Off+ Remover at the base of the nail. 2️⃣ Using a manicure stick, slowly lift from the edges around the cuticle area. 3️⃣ If needed, add more oil to help break down the adhesive. 4️⃣ After a few moments, gently push from the cuticle toward the free edge to lift the strip. 💡 If you feel resistance, don’t force it—just apply more oil and wait a bit longer.Was this answer helpful to you
- Q
Can I paint polish over this after I cure it?
- Asked by Tess
- Official Answer By Dashing Diva - Brand EngageHi there! Yes, you can apply polish over our Glaze Strong set—just be sure the strips are fully cured first.Was this answer helpful to you
- Q
Will this help with nail biting and is it strong enough to not bite the nails off
- Asked by Lolo
- Official Answer By Dashing Diva - Brand EngageHi! Our glaze strips can definitely help discourage nail biting! The added strength of the semi-cured strips makes your nails more durable, which can make it less tempting to bite. However, the effectiveness can also depend on how hard you bite your nails. Hope this helps!Was this answer helpful to you
- Q
Once cured, can you put polish on top?
- Asked by Sue
- Official Answer By Dashing Diva - Brand EngageHi there! Because GLAZE is an all-in-one product, no additional Base Coat, Nail Strengthener or Top Coat is needed. Should you decide to wear an additional product with GLAZE, we cannot guarantee lasting results.Was this answer helpful to you