Use the following zoom and pan buttons to control the image that follows them
Tab through the images or use the previous or next buttons to navigate each product image
In stock and ready to ship
Usually ships out in 1-2 days
Summary
Conscious Beauty at Ulta Beauty™
- Clean Ingredients
- Cruelty Free
- Vegan
- Give Back
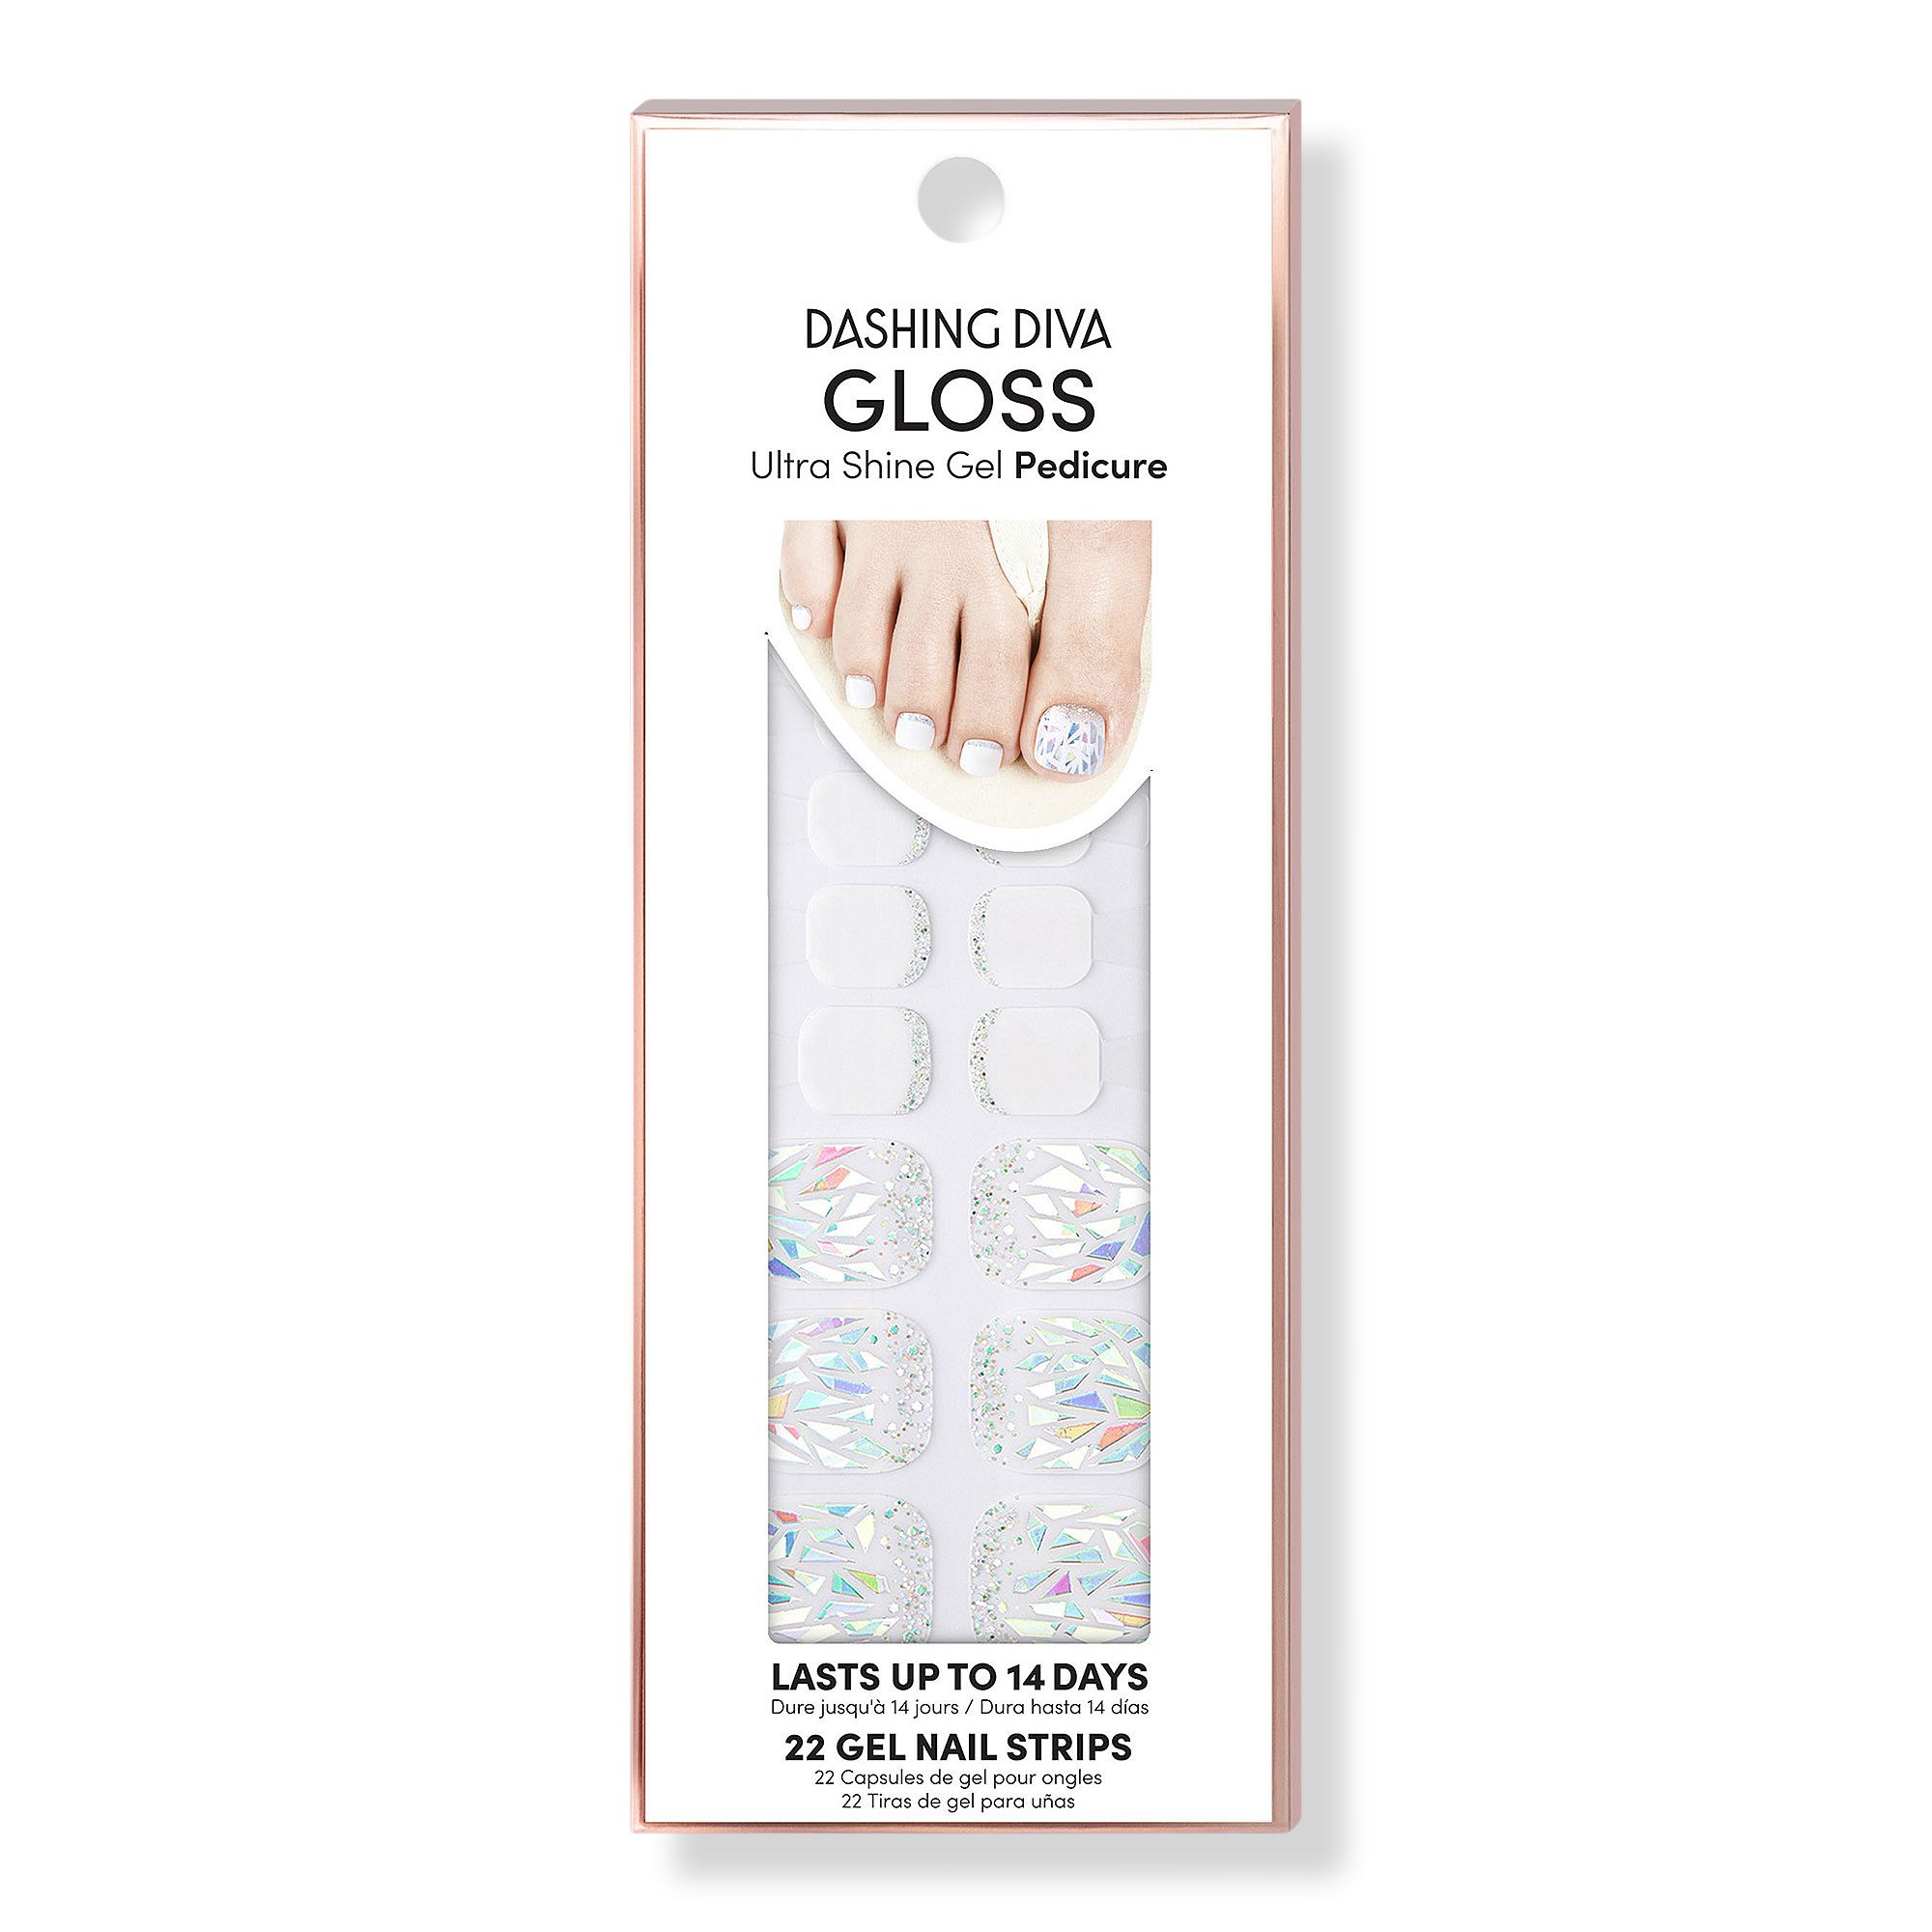
Stay pedi ready all year long with Dashing Diva's GLOSS Ultra Shine Gel Pedicure that lasts up to 14 days.
Benefits
- Super strong gel pedicure that lasts up to 14 days
- Chip-resistant, ultra-shiny gel nail strips
- Quick application
- Non-wrinkling formula
- No UV dry time
- Gentle, non-damaging removal
- Upgrade with tapered file for easier filing
- Vitamin E Prep Pad included
- Each pack contains 22 gel nail strips in 11 sizes, Vitamin E Prep Pad, nail file, instruction sheet
- Strips do not dry out, store your extras for more mani creations
STEP 1: PREP
- Wash feet with soap and water
- Shape nails and push back cuticles
- Use enclosed Prep Pad to ensure nails are clear from oils and residue
- Make sure your nails are completely dry before application
Pro Tip: Try Red Therapy Base Seal Treatment for GLOSS to hydrate and strengthen natural nails while extending the wear of GLOSS.
STEP 2: SELECT SIZE
- Select strip size for each nail. For optimal fit, the strip should not exceed past the nail bed onto skin or cuticles
- Gently lift strip from sheet starting from edge
Pro Tip: If you are in between sizes always choose the smaller size for proper adhesion
Pro Tip: Use a tweezer to lift strip from sheet more easily and limit compromising the adhesion.
STEP 3: APPLICATION
- Place strip over the center of your nail, starting at cuticle line and pressing outward
- Press down firmly from center and side to side
Pro Tip: Make sure strip is applied slightly above cuticle line, avoiding placement on skin.
STEP 4: FINISH
- Fold over excess material
- Position the nail file horizontally along the contour of your nail. With one sweeping motion, file firmly across your free edge. Be sure to file in one direction at a time, filing from side to side will tear the edges
Pro tip: If you have excessive material when folding strip over nail edge, trim with a scissor or nail clipper before filing.
Pro tip: For optimal adhesion, avoid exposing nails to lotions, oils or water for at least one hour after application.
HOW TO REMOVE:
- Apply a drop of cuticle oil or acetone remover onto your nail
- Use manicure stick to gently and slowly lift nail strip from corner of the cuticle area
- Gradually roll the strip off your nail
CAUTION: Do not peel off with force or in one quick motion.
Polyurethane-11, Acrylates Copolymer, Silica, Polyester-5, Chromium Oxide Greens (Ci 77288), Iron Oxides (CI 77499), Red 36 (CI 12085), Manganese Violet (CI 77742), Aluminum hydroxide (CI 77002), Blue 1 Lake (CI 42090), Synthetic Fluorphlogopite, Titanium Dioxide (CI 77891), POLYETHYLENE TEREPHTHALATE, Polyurethane 33, Titanium oxide, Tin oxide, Aluminum Powder (CI 77000).
Free gift with purchase

Free gift with purchase
Online only free juicy summer pouch with $15 Dashing Diva purchase (valid thru 719/25 on shipped purchases only. Full or partial pickup or same day delivery purchases do not qualify. While quantities last)
We think you'll like
12 items
Use previous and next buttons to navigate the slides of the We think you'll like Product Carousel


Similar items for you
12 items
Use previous and next buttons to navigate the slides of the Similar items for you Product Carousel


Sponsored products
9 items
Use previous and next buttons to navigate the slides of the Sponsored products Product Carousel


Questions
Ask a QuestionWhat do you want to know about this product?
Reviews
Write A REVIEWReview Snapshot
by PowerReviews
Ratings Distribution
Most Helpful Positive Review
The only white pedi you'd want for the whole summer!
The white is optic, true white and the reverse french glitter near the cuticles are so cute and so shimmery. It's not overstated because only your toes get the shattered glass accent nail and originally thought it will be too much but the whole set ended up complimenting each other so perfectly - Ah...
Most Helpful Critical Review
Application wasn't easy, but lasts forever
I found this particular brand difficult to apply - other wraps I've used will either cut away easily with help from the edge of the nail, or need a little filing for the excess wrap to tear away. That was not the case with these wraps; they felt like a thicker plastic and I needed to use nail clippe...
56 results
Vacation - Covered!
Absolutely love these. I had a vacation two weekends in a row and they lasted so well! Also, they came of so easily with the directions provided. My nails feel less damaged then when I get gel at the salon :).
Durable
I wore these for a week in Hawaii. I snorkeled, hiked in the mud (in sneakers and sandals!), kayaked, waded through rivers and creeks, and walked barefoot through the sand. They all lasted and still looked great! The only issue is that my toenails are short so it was a bit hard to file off the excess after applying. I think I'd grow them out a little bit before applying next time. Great alternative if you don't want to spend more money on a pedicure.
So easy and long lasting!
Reviewed at
These are so easy to use and last so long. I love the white color in the summer.
Awesome design
Reviewed at
Love these! They were really well for 3 weeks under gel top coat. I probably could wear them longer, but I was ready for new design. I'll never paint my toes again!
Great toes
Verified Buyer
Reviewed at
Used these for the first time for a trip and they lasted well over a week after applying them! I even got them wet in the pool and there was no lifting or fading of the strip. Will be buying more of these!